
This post contains affiliate links. If you purchase something through an affiliate link of mine, you won't pay a penny more, but I’ll receive a small commission.
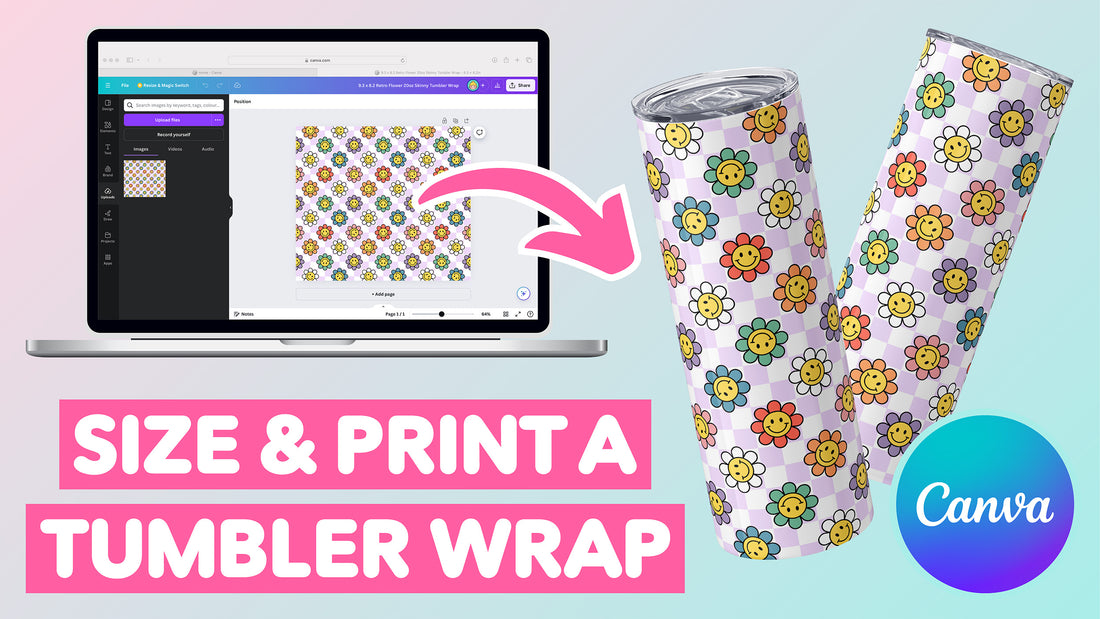
How to Print Sublimation Tumbler Wraps Using Canva
Sublimating a tumbler is a great way to add a personal touch to your drinkware. However, to ensure a seamless finish, it's important to get the dimensions of your design just right.
In this tutorial, I'll show you how to print sublimation tumbler wraps using Canva to help you achieve professional-looking results every time.
Download Your Free Tumbler Wrap
Before we dive in, be sure to download your free tumbler wrap. It includes a commercial license for small business use, allowing you to make and sell an unlimited amount of tumblers featuring this free design — no strings attached!Want more free sublimation designs? Check out my Free Sublimation Designs page, where you'll find an ever-growing collection of free sublimation designs for your next project!
What You'll Need
For this tutorial on how to print sublimation tumbler wraps using Canva, you will need:
• Sublimation printer
• Sublimation ink
• Sublimation paper
• Tumbler wrap design
• Measuring tape
• Free Canva account
Step 1: Measure Your Tumbler
Use a measuring tape to measure the height of your tumbler by running it from the base to the lip. Next, wrap the tape around the tumbler to determine its circumference.
I recommend using a loop measuring tape as it's specifically designed to gauge the dimensions of curved surfaces.
Step 2: Create a New Design in Canva

Launch Canva, then click the Create a Design button located in the top right-hand corner of the screen.

Select Custom Size from the dropdown menu.

Set your preferred unit of measurement, then enter your tumbler's dimensions and click Create New Design.
Step 3: Upload Your Tumbler Wrap Design

Click on Uploads in the sidebar on the left-hand side of the screen, then press the Upload Files button.

Locate the file of the design you want to print, then click Open.
Don't forget to download your free tumbler wrap if you haven't already!

Once the file has uploaded, it'll appear in the sidebar. Click on it to place your design onto your canvas.
Step 4: Adjust and Position Your Design

Click and drag your design to the upper left-hand corner of the canvas until it snaps into place.

Now, click the bottom right corner of your design and drag it until the image covers the entire canvas.

If your tumbler size differs from the standard dimensions of 9.3 x 8.2, your design may extend beyond the edges or not fully cover the canvas. To fix this, make sure your design touches both the left and right sides of the canvas, and then center it so that the overhang is equal on the top and bottom.
All of my tumbler wrap designs include a higher resolution version, enabling you to resize the wrap without any loss in quality.
Step 5: Mirror Your Design for Sublimation

Click Flip in the toolbar above the canvas, then choose Flip Horizontal to mirror your design.
Mirroring a tumbler wrap design before printing is important because when you apply the wrap to the tumbler, the design will transfer in reverse.
Step 6: Download Your Design

Once your design is perfectly aligned and mirrored, it’s time to download it. Click the Share button in the top right-hand corner of the screen, then press Download from the dropdown menu.

Select PDF Print from the File Type dropdown menu.

Press Download, and your design will automatically download to your device as a PDF file, ready to print.
Step 7: Print Your Tumbler Wrap
Open the downloaded file, then press Print to access your printer's settings. Every printer is different, so experiment to find which settings work best for your specific model.
I have a converted Epson EcoTank ET-2850, and use the following settings for tumblers when printing from my Mac:


Once you've fine-tuned your settings, you can save them as a preset so your printer remembers them, making the process quicker in the future.
When you're ready, press the Print button to print your tumbler wrap.
Tips and Tricks for Printing Tumbler Wraps
Choose the Right Sublimation Paper
For tumblers, A-Sub's 105g sublimation paper is an excellent choice as it holds less ink due to its lighter weight, making it ideal for seamless designs. If you live in Europe, Ink Experts' Style Lite sublimation paper is a great alternative.
Use High-Quality Sublimation Ink
High-quality sublimation ink, such as Hiipoo, A-Sub and Ink Experts' SubliNova, increases the durability of your tumbler designs while offering more vibrant colors and better image clarity.
Enable Borderless Printing
If your printer supports borderless printing, choose a borderless option like A4 Borderless when selecting your paper size to maximize the printing area.
Adjust the Print Scale
Adjust the scale to ensure your tumbler wrap prints at the correct dimensions. I set the scale to 98% when printing borderless to counter my printer's automatic upscaling.
Select the Correct Paper Type
Set your printer's paper type to Presentation Paper Matte or similar. My printer's closest match is Photo Matte Paper.
Set Your Printer to Best Quality
Always choose the highest print quality available, which is usually Best or High.
Use an ICC Profile
An ICC profile guarantees that the colors you see on your screen match those produced by your printer. You can download ICC profiles for most printer and ink brands. Please note, however, that since you can’t print directly from Canva, you'll need to download your tumbler wrap design and open it in another program, like Adobe Photoshop, to apply an ICC profile.
Conclusion: How to Print Sublimation Tumbler Wraps Using Canva — Free Tumbler Wrap Included!
In this tutorial, I have shown you how to print sublimation tumbler wraps using Canva. By following these steps, you'll achieve professional-looking results every time. Happy sublimating!